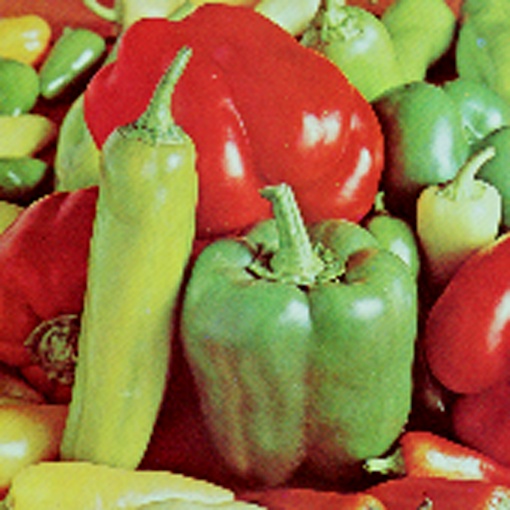

Upscaling images: single-output#
In this tutorial you will learn how to use the ‘dnn_superres’ interface to upscale an image via pre-trained neural networks. It works in C++ and Python.
Building#
When building OpenCV, run the following command to build all the contrib module:
cmake -D OPENCV_EXTRA_MODULES_PATH=<opencv_contrib>/modules/
Or only build the dnn_superres module:
cmake -D OPENCV_EXTRA_MODULES_PATH=<opencv_contrib>/modules/dnn_superres
Or make sure you check the dnn_superres module in the GUI version of CMake: cmake-gui.
Source Code of the sample#
You can run the sample code by doing
<path_of_your_opencv_build_directory>/bin/example_dnn_superres_dnn_superres <path_to_image.png> <algo_string> <upscale_int> <model_path.pb>
Example:
/home/opencv/build/bin/example_dnn_superres_dnn_superres /home/image.png edsr 2 /home/EDSR_x2.pb
// This file is part of OpenCV project.
// It is subject to the license terms in the LICENSE file found in the top-level directory
// of this distribution and at http://opencv.org/license.html.

#include <iostream>

#include <opencv2/dnn_superres.hpp>

#include <opencv2/imgproc.hpp>
#include <opencv2/highgui.hpp>

using namespace std;
using namespace cv;
using namespace dnn;
using namespace dnn_superres;

int main(int argc, char *argv[])
{
    // Check for valid command line arguments, print usage
    // if insufficient arguments were given.
    if ( argc < 4 ) {
        cout << "usage:   Arg 1: image     | Path to image" << endl;
        cout << "\t Arg 2: algorithm | bilinear, bicubic, edsr, espcn, fsrcnn or lapsrn" << endl;
        cout << "\t Arg 3: scale     | 2, 3 or 4 \n";
        cout << "\t Arg 4: path to model file \n";
        return -1;
    }

    string img_path = string(argv[1]);
    string algorithm = string(argv[2]);
    int scale = atoi(argv[3]);
    string path = "";

    if( argc > 4)
        path = string(argv[4]);

    // Load the image
    Mat img = cv::imread(img_path);
    Mat original_img(img);
    if ( img.empty() )
    {
        std::cerr << "Couldn't load image: " << img << "\n";
        return -2;
    }

    //Make dnn super resolution instance
    DnnSuperResImpl sr;

    Mat img_new;

    if( algorithm == "bilinear" ){
        resize(img, img_new, Size(), scale, scale, 2);
    }
    else if( algorithm == "bicubic" )
    {
        resize(img, img_new, Size(), scale, scale, 3);
    }
    else if( algorithm == "edsr" || algorithm == "espcn" || algorithm == "fsrcnn" || algorithm == "lapsrn" )
    {
        sr.readModel(path);
        sr.setModel(algorithm, scale);
        sr.upsample(img, img_new);
    }
    else{
        std::cerr << "Algorithm not recognized. \n";
    }

    if ( img_new.empty() )
    {
        std::cerr << "Upsampling failed. \n";
        return -3;
    }
    cout << "Upsampling succeeded. \n";

    // Display image
    cv::namedWindow("Initial Image", WINDOW_AUTOSIZE);
    cv::imshow("Initial Image", img_new);
    //cv::imwrite("./saved.jpg", img_new);
    cv::waitKey(0);

    return 0;
}
Explanation#
Set header and namespaces
#include <opencv2/dnn_superres.hpp>
using namespace std;
using namespace cv;
using namespace dnn;
using namespace dnn_superres;
If you want you can set the namespace like the code above.
Create the Dnn Superres object
DnnSuperResImpl sr;
This is just to create the object, register the custom dnn layers and get access to the class functions.
Read the model
path = "models/FSRCNN_x2.pb"
sr.readModel(path);
This reads the TensorFlow model from the .pb file. Here ‘path’ is one of the pre-trained Tensorflow models’ path file. You can download the models from OpenCV’s GitHub, in the ‘dnn_superres’ module.
Set the model
sr.setModel("fsrcnn", 2);
Depending on the model you want to run, you have to set the algorithm and upscale factor. This is to know the desired algorithm and scale, even if you change the .pb file’s name. For example: if you chose FSRCNN_x2.pb, your algorithm and scale will be ‘fsrcnn’ and 2, respectively. (Other algorithm options include “edsr”, “espcn” and “lapsrn”.)
Upscale an image
Now we can upscale any image. Load an image via the standard ‘imread’ function and create a new Mat for the destination image. Then simple upscale. Your upscaled image is located in ‘img_new’.
An example in python#
import cv2
from cv2 import dnn_superres

## Create an SR object - only function that differs from c++ code
sr = dnn_superres.DnnSuperResImpl_create()

## Read image
image = cv2.imread('./image.png')

## Read the desired model
path = "EDSR_x4.pb"
sr.readModel(path)

## Set the desired model and scale to get correct pre- and post-processing
sr.setModel("edsr", 4)

## Upscale the image
result = sr.upsample(image)

## Save the image
cv2.imwrite("./upscaled.png", result)
Original: 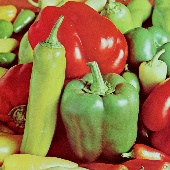
Upscaled Image via FSRCNN: 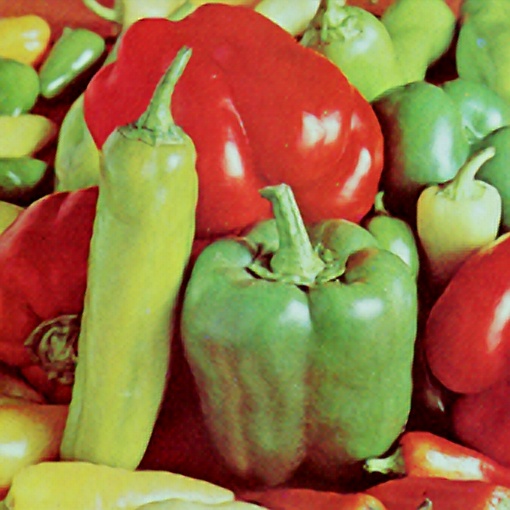
Upscaled Image via Bicubic Interpolation: