#include <iostream>
#include <stdio.h>
void detectAndDisplay( Mat frame );
String face_cascade_name, eyes_cascade_name;
String window_name =
"Capture - Face detection";
int main( int argc, const char** argv )
{
"{help h||}"
"{face_cascade|../../data/haarcascades/haarcascade_frontalface_alt.xml|}"
"{eyes_cascade|../../data/haarcascades/haarcascade_eye_tree_eyeglasses.xml|}");
cout << "\nThis program demonstrates using the cv::CascadeClassifier class to detect objects (Face + eyes) in a video stream.\n"
"You can use Haar or LBP features.\n\n";
parser.printMessage();
face_cascade_name = parser.get<string>("face_cascade");
eyes_cascade_name = parser.get<string>("eyes_cascade");
Mat frame;
if( !face_cascade.
load( face_cascade_name ) ){ printf(
"--(!)Error loading face cascade\n");
return -1; };
if( !eyes_cascade.
load( eyes_cascade_name ) ){ printf(
"--(!)Error loading eyes cascade\n");
return -1; };
capture.open( 0 );
if ( ! capture.isOpened() ) { printf("--(!)Error opening video capture\n"); return -1; }
while ( capture.read(frame) )
{
{
printf(" --(!) No captured frame -- Break!");
break;
}
detectAndDisplay( frame );
if( c == 27 ) { break; }
}
return 0;
}
void detectAndDisplay( Mat frame )
{
std::vector<Rect> faces;
Mat frame_gray;
for ( size_t i = 0; i < faces.size(); i++ )
{
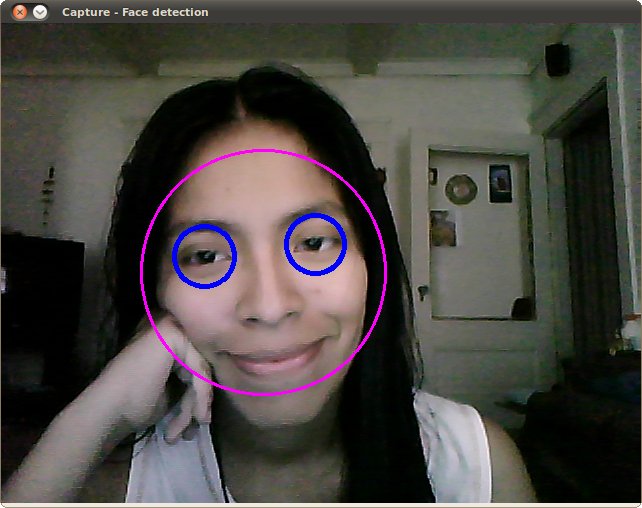
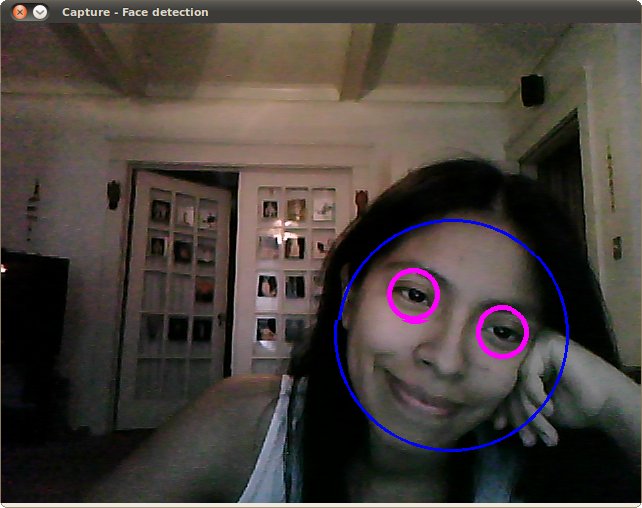
Point center( faces[i].x + faces[i].width/2, faces[i].y + faces[i].height/2 );
ellipse( frame, center,
Size( faces[i].width/2, faces[i].height/2 ), 0, 0, 360,
Scalar( 255, 0, 255 ), 4, 8, 0 );
Mat faceROI = frame_gray( faces[i] );
std::vector<Rect> eyes;
for ( size_t j = 0; j < eyes.size(); j++ )
{
Point eye_center( faces[i].x + eyes[j].x + eyes[j].width/2, faces[i].y + eyes[j].y + eyes[j].height/2 );
int radius =
cvRound( (eyes[j].width + eyes[j].height)*0.25 );
circle( frame, eye_center, radius,
Scalar( 255, 0, 0 ), 4, 8, 0 );
}
}
}
 1.8.12