Prev Tutorial: Introduction into Android Development
Next Tutorial: How to run deep networks on Android device
| |
| Original authors | Alexander Panov, Rostislav Vasilikhin |
| Compatibility | OpenCV >= 4.9.0 |
This tutorial has been created to help you use OpenCV library within your Android project.
This guide was checked on Ubuntu but contains no platform-dependent parts, therefore should be compatible with any OS supported by Android Studio and OpenCV4Android SDK.
This tutorial assumes you have the following installed and configured:
If you need help with anything of the above, you may refer to our Introduction into Android Development guide.
If you encounter any error after thoroughly following these steps, feel free to contact us via OpenCV forum. We'll do our best to help you out.
Hello OpenCV sample with SDK
In this section we're gonna create a simple app that does nothing but OpenCV loading. In next section we'll extend it to support camera.
In addition to this instruction you can use some video guide, for example this one
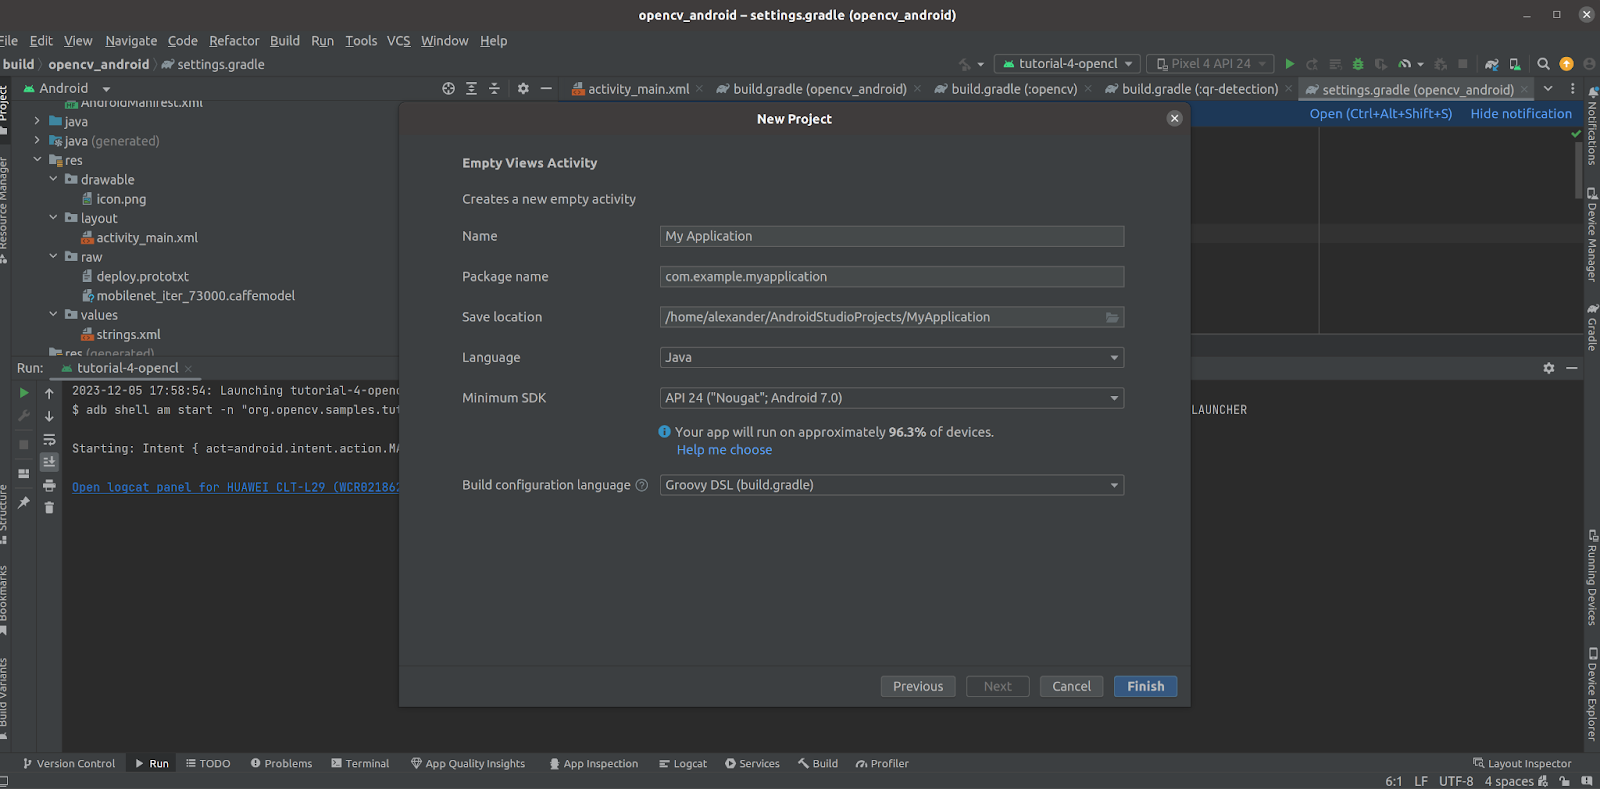
- Open Android Studio and create empty project by choosing Empty Views Activity
- Setup the project:
- Choose Java language
- Choose Groovy DSL build configuration language
- Choose Minumum SDK with the version number not less than was used during OpenCV 4 Android build
- If you don't know it, you can find it in file
OpenCV-android-sdk/sdk/build.gradle at android -> defaultConfig -> minSdkVersion
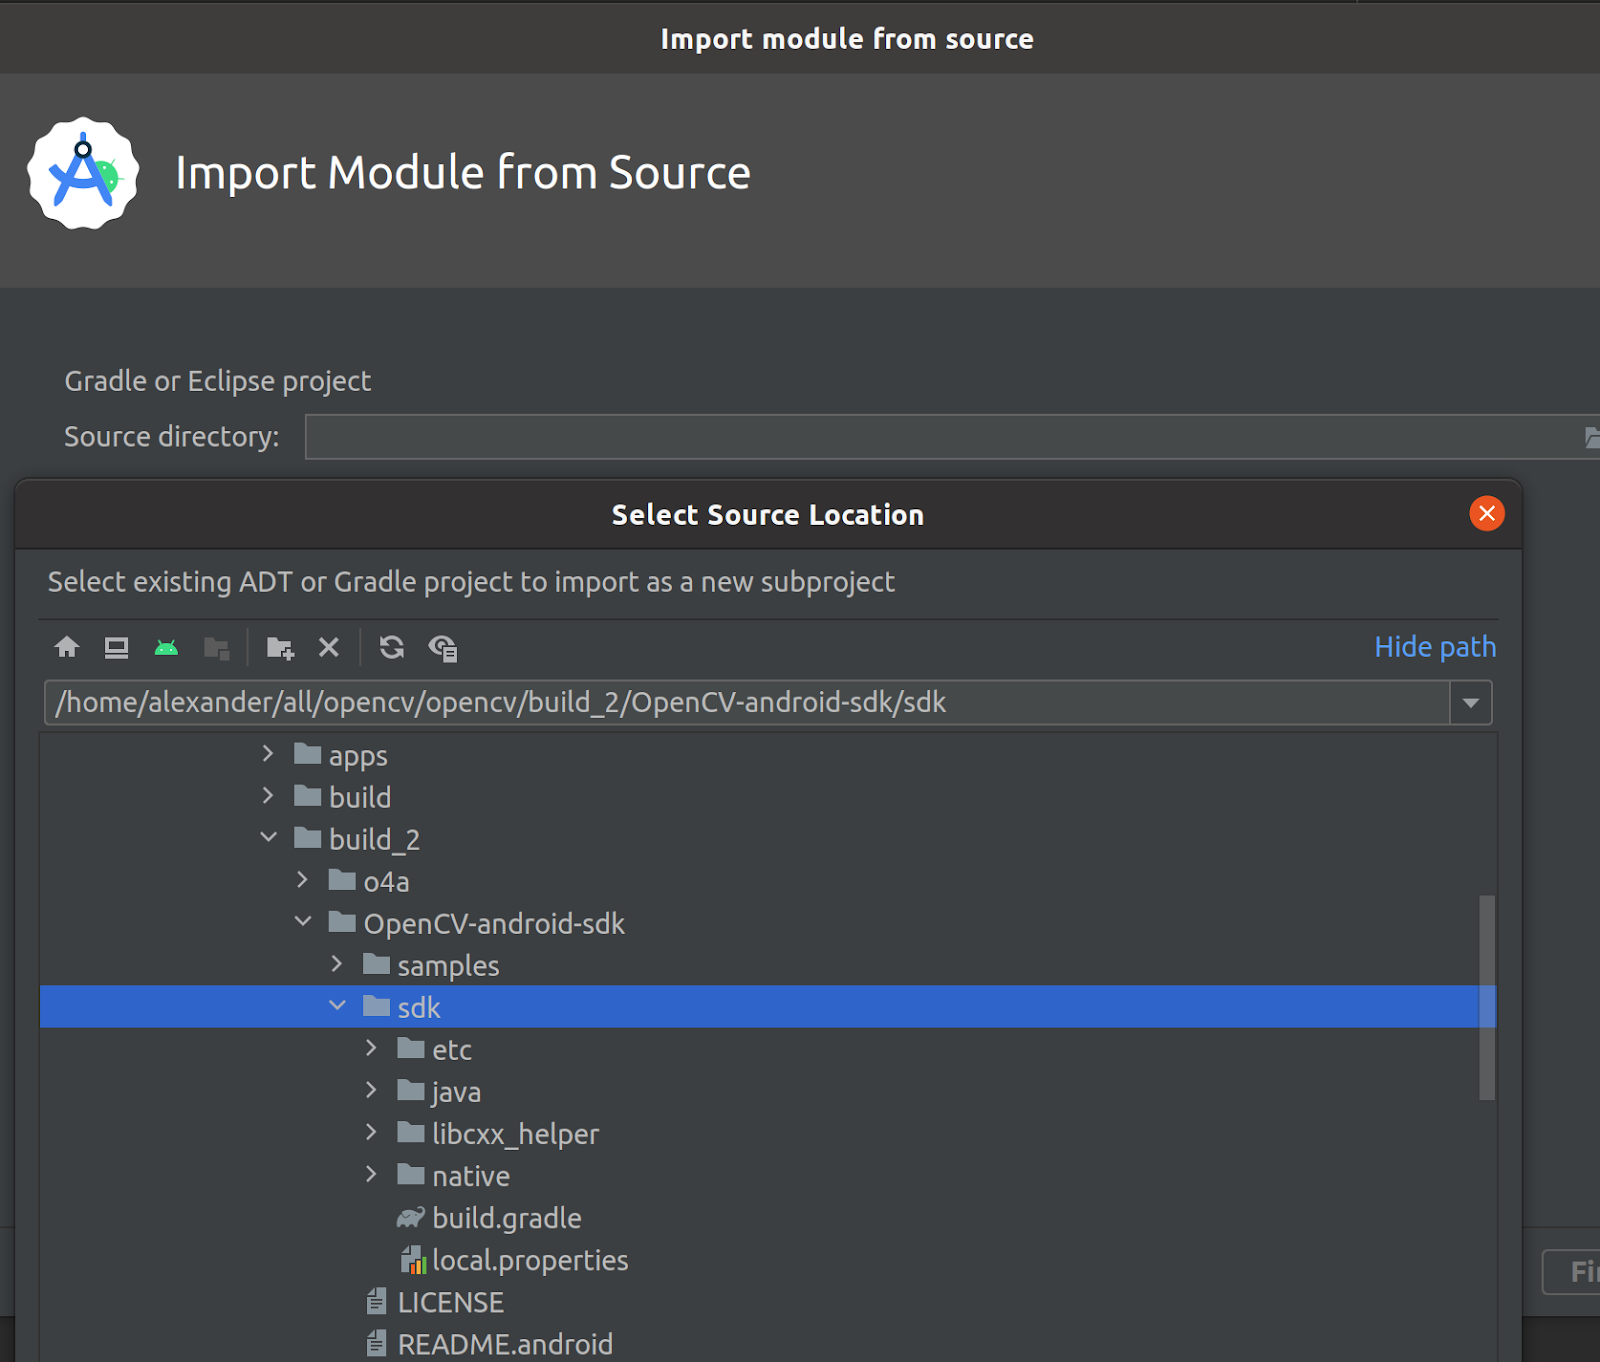
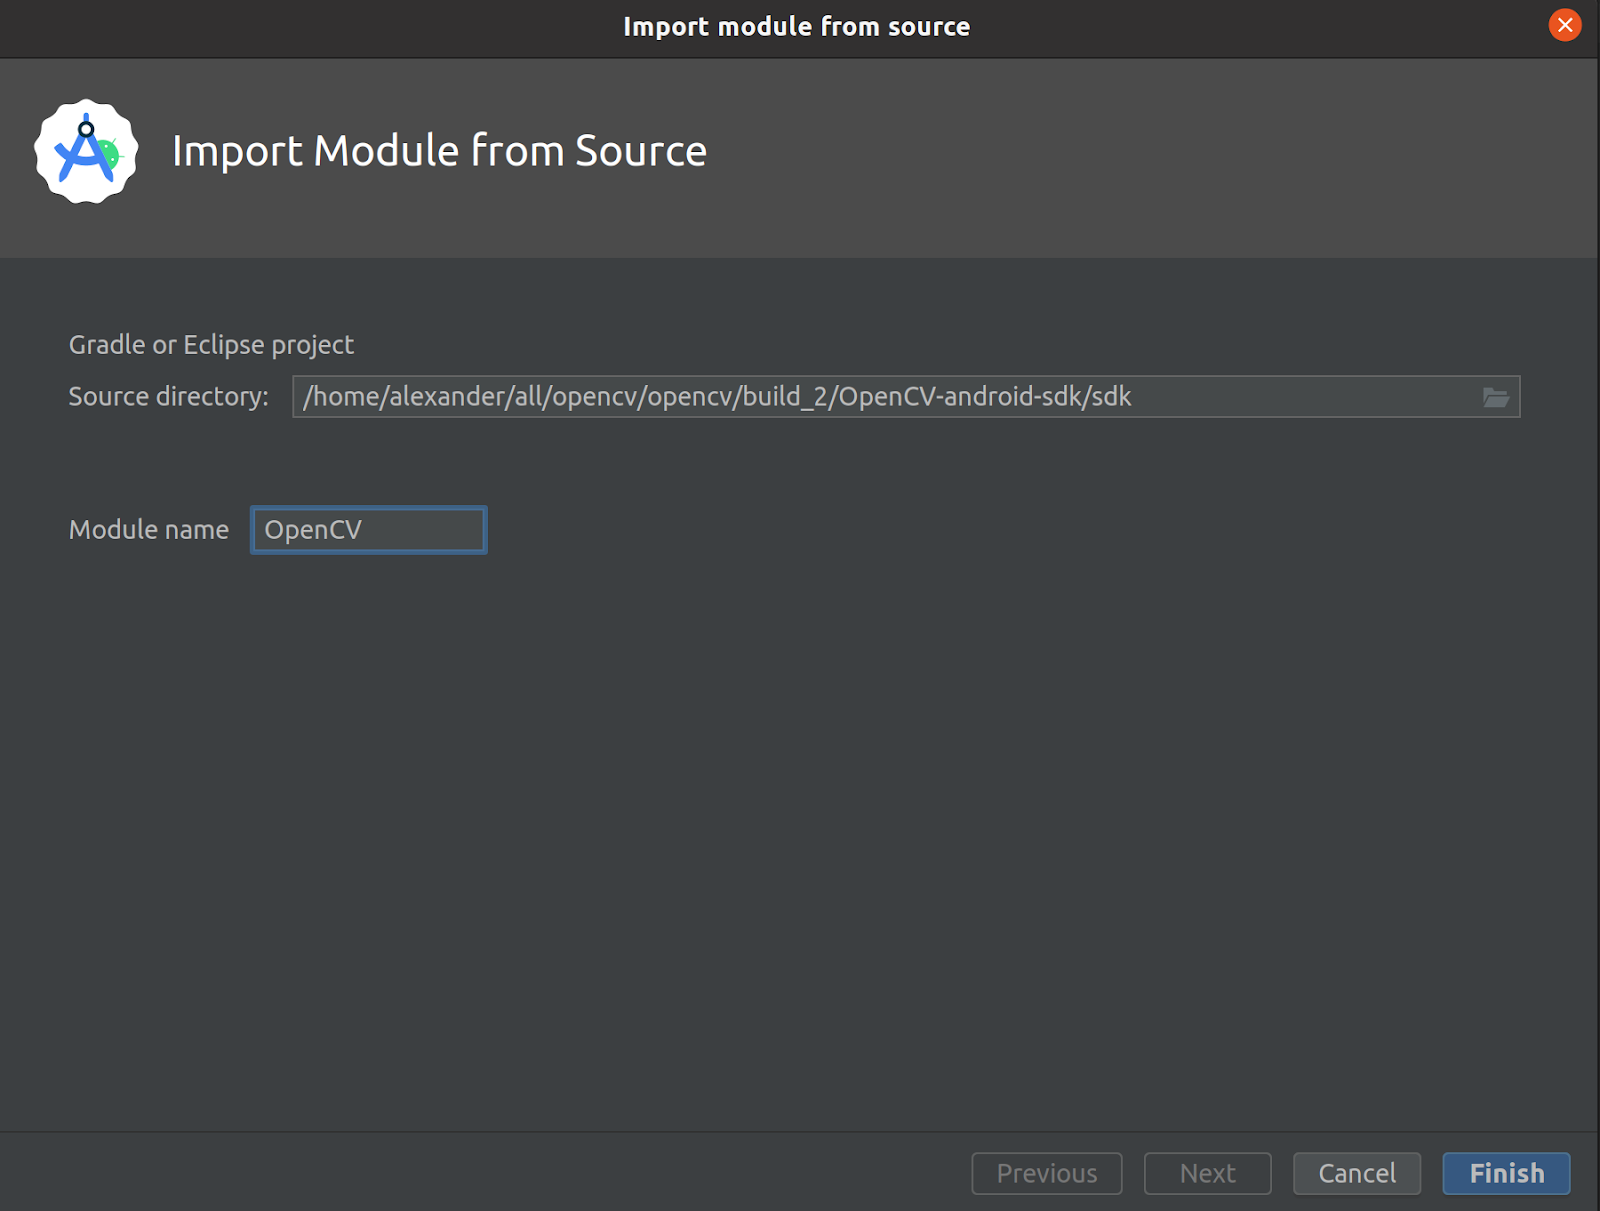
- Click File -> New -> Import module... and select OpenCV SDK path
- Set module name as
OpenCV and press Finish
OpenCV also provides experiemental Kotlin support. Please add Android Kotlin plugin to MyApplication/OpenCV/build.gradle file:
plugins {
id 'org.jetbrains.kotlin.android' version '1.7.10' #version may differ for your setup
}
Like this: 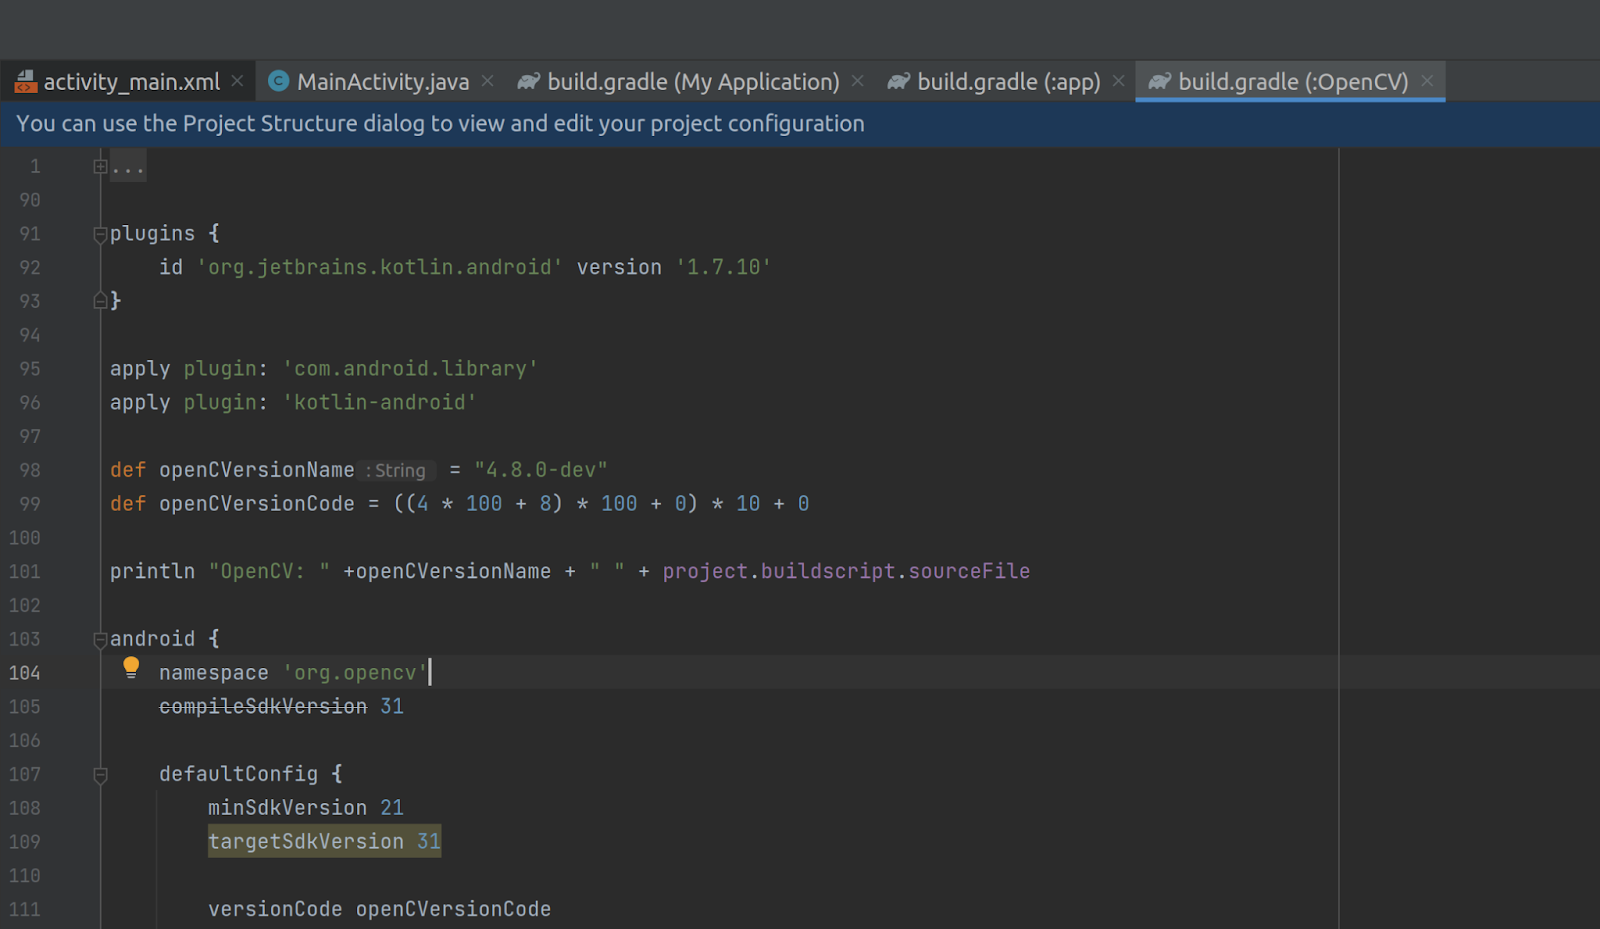
If you don't do this, you may get an error:
Task failed with an exception.
-----------
* Where:
Build file '/home/alexander/AndroidStudioProjects/MyApplication/opencv/build.gradle' line: 4
* What went wrong:
A problem occurred evaluating project ':opencv'.
> Plugin with id 'kotlin-android' not found.
The fix was found here
OpenCV project uses buildConfig feature. Please enable it in MyApplication/OpenCV/build.gradle file to android block:
buildFeatures{
buildConfig true
}
Like this: 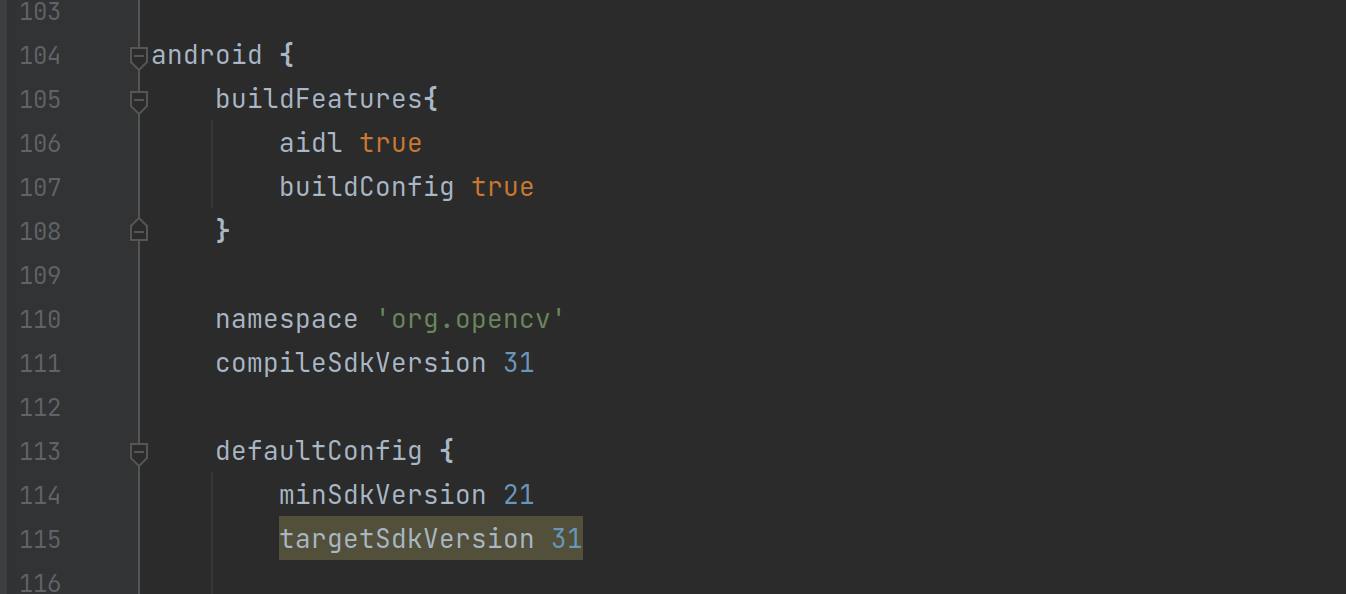
If you don't do this, you may get an error:
JavaCameraView.java:15: error: cannot find symbol import org.opencv.BuildConfig; ^ symbol: class BuildConfig location: package org.opencv
The fix was found here and here
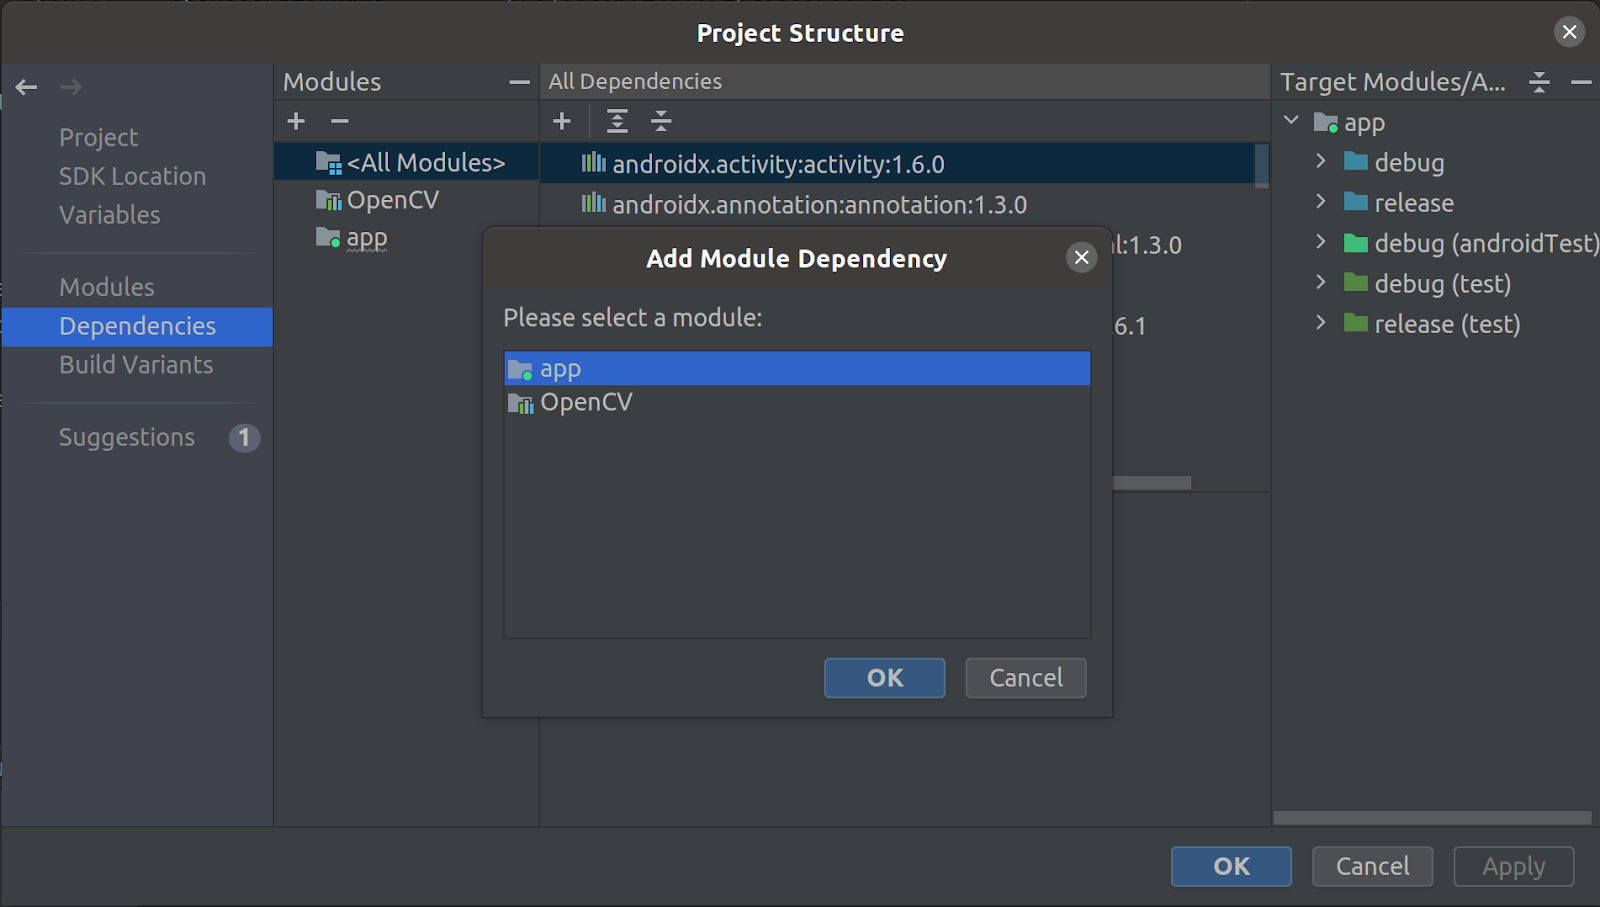
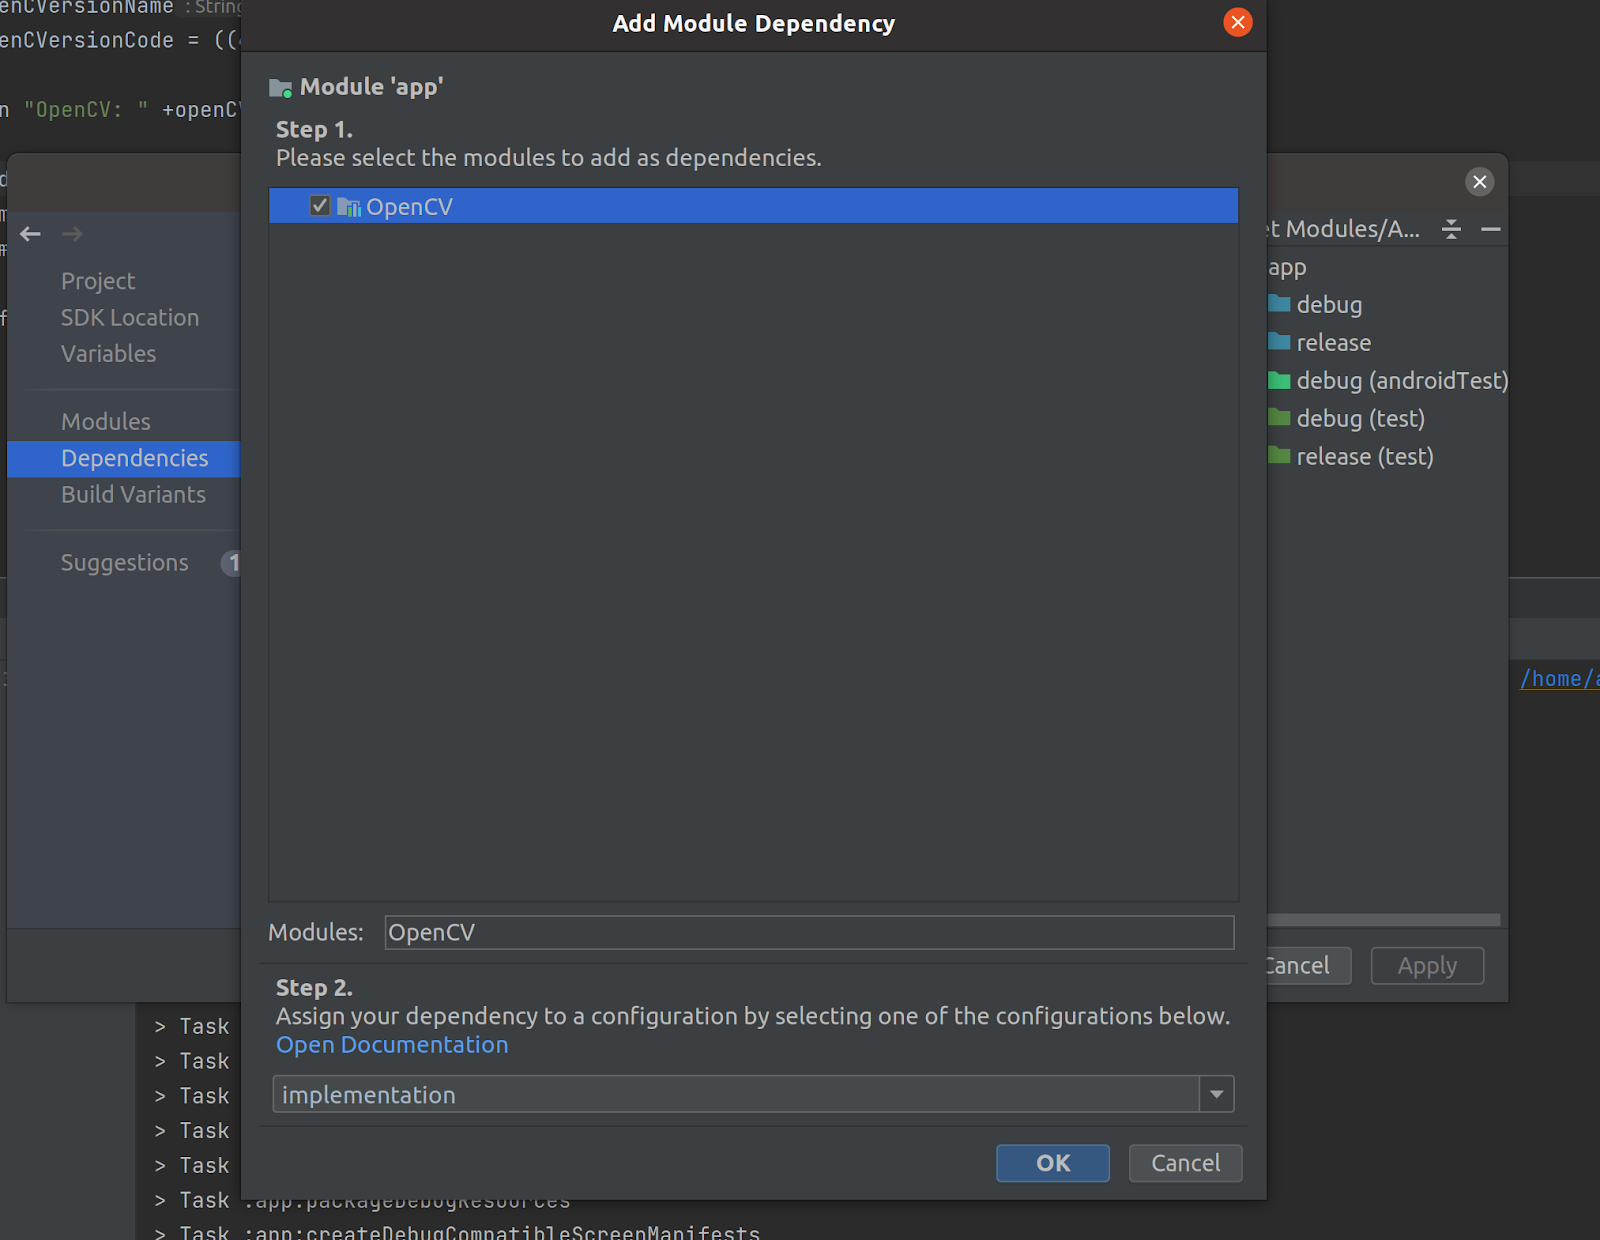
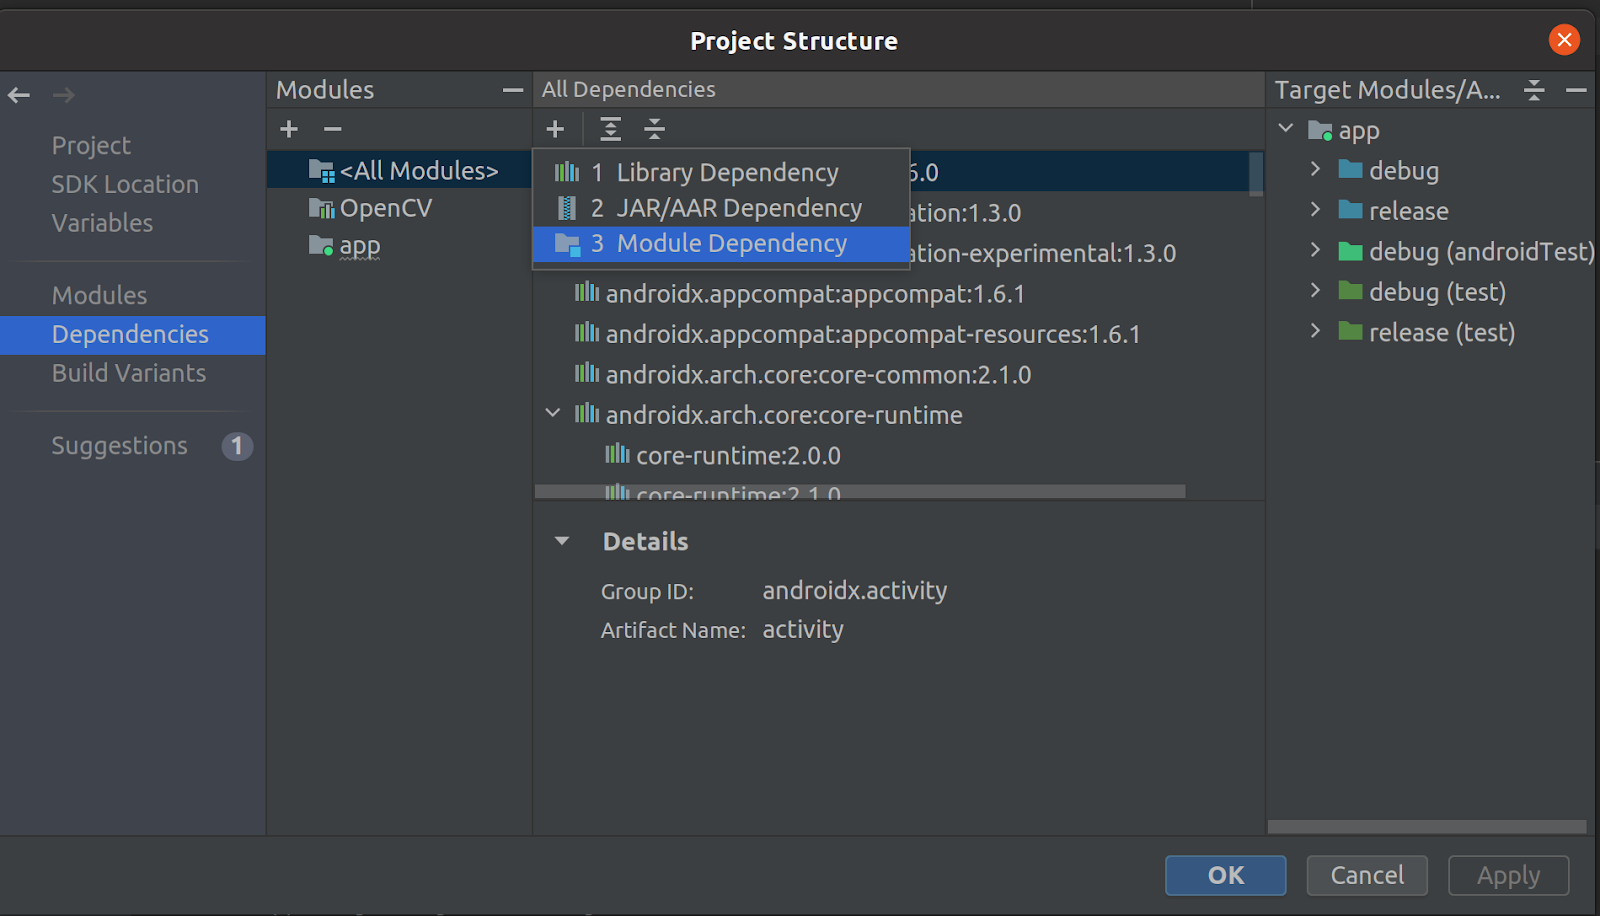
- Add the module to the project:
- Click File -> Project structure... -> Dependencies -> All modules -> + (Add Dependency button) -> Module dependency
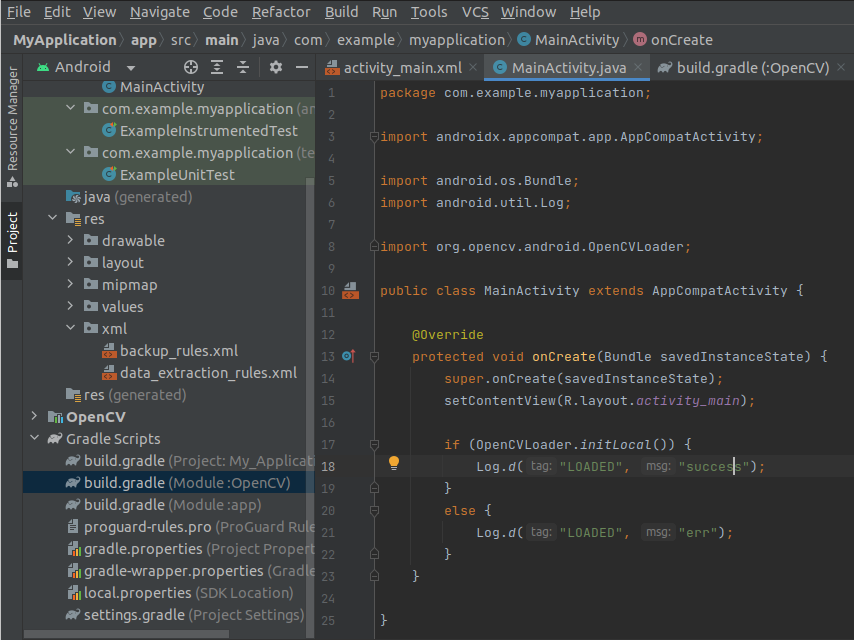
- Before using any OpenCV function you have to load the library first. If you application includes other OpenCV-dependent native libraries you should load them after OpenCV initialization. Add the folowing code to load the library at app start:
if (OpenCVLoader.initLocal()) {
Log.i(TAG, "OpenCV loaded successfully");
} else {
Log.e(TAG, "OpenCV initialization failed!");
(Toast.makeText(this, "OpenCV initialization failed!", Toast.LENGTH_LONG)).show();
return;
}
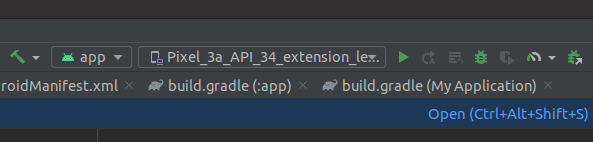
- Choose a device to check the sample on and run the code by pressing
run button
Hello OpenCV sample with Maven Central
Since OpenCV 4.9.0 OpenCV for Android package is available with Maven Central and may be installed automatically as Gradle dependency. In this section we're gonna create a simple app that does nothing but OpenCV loading with Maven Central.
- Open Android Studio and create empty project by choosing Empty Views Activity
- Setup the project:
- Choose Java language
- Choose Groovy DSL build configuration language
- Choose Minumum SDK with the version number not less than OpenCV supports. For 4.9.0 minimal SDK version is 21.
- Edit
build.gradle and add OpenCV library to Dependencies list like this: dependencies {
implementation 'org.opencv:opencv:4.9.0'
}
4.9.0 may be replaced by any version available as official release.
- Before using any OpenCV function you have to load the library first. If you application includes other OpenCV-dependent native libraries you should load them after OpenCV initialization. Add the folowing code to load the library at app start:
if (OpenCVLoader.initLocal()) {
Log.i(TAG, "OpenCV loaded successfully");
} else {
Log.e(TAG, "OpenCV initialization failed!");
(Toast.makeText(this, "OpenCV initialization failed!", Toast.LENGTH_LONG)).show();
return;
}
- Choose a device to check the sample on and run the code by pressing
run button
Camera view sample
In this section we'll extend our empty OpenCV app created in the previous section to support camera. We'll take camera frames and display them on the screen.
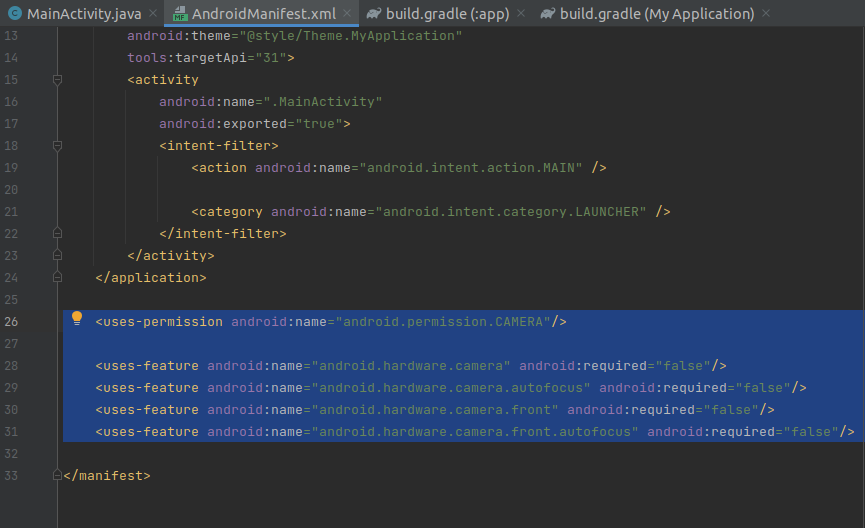
- Tell a system that we need camera permissions. Add the following code to the file
MyApplication/app/src/main/AndroidManifest.xml: <uses-permission android:name="android.permission.CAMERA"/>
<uses-feature android:name="android.hardware.camera" android:required="false"/>
<uses-feature android:name="android.hardware.camera.autofocus" android:required="false"/>
<uses-feature android:name="android.hardware.camera.front" android:required="false"/>
<uses-feature android:name="android.hardware.camera.front.autofocus" android:required="false"/>
- Go to
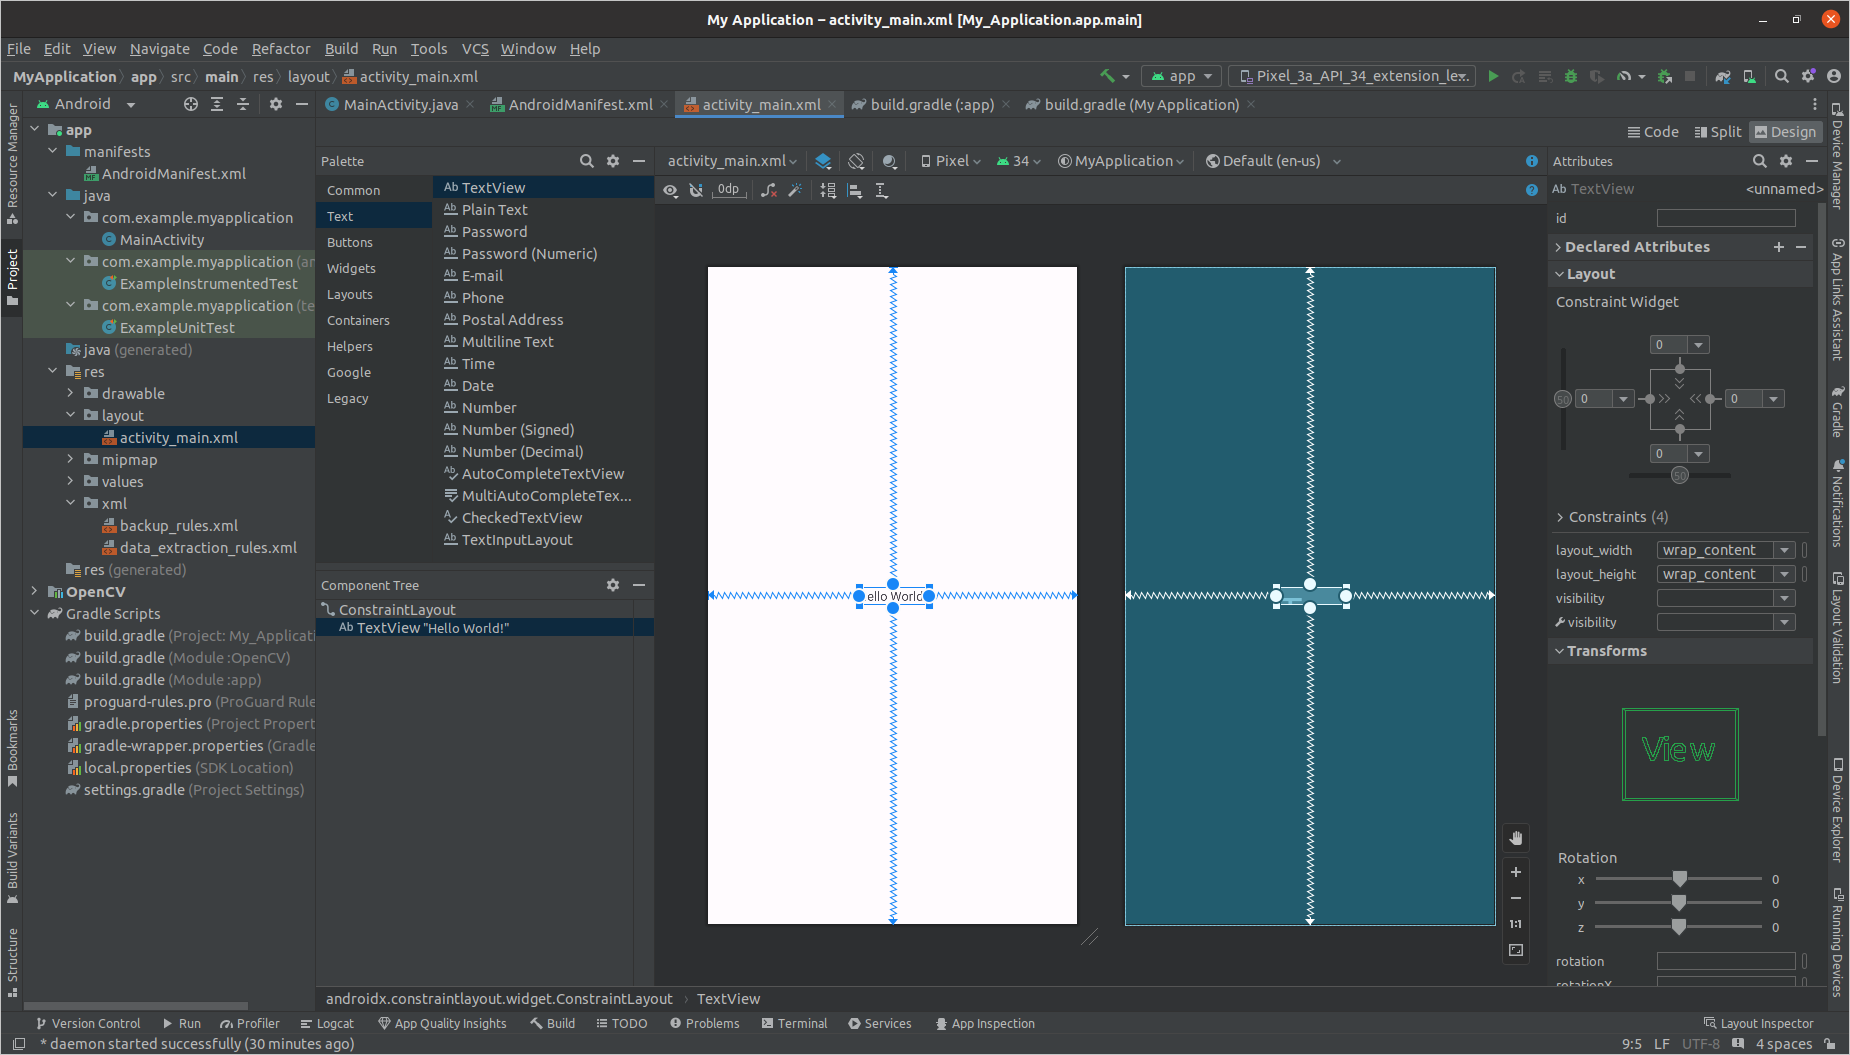
activity_main.xml layout and delete TextView with text "Hello World!"
This can also be done in Code or Split mode by removing the TextView block from XML file.
Add camera view to the layout:
- Add a scheme into layout description:
xmlns:opencv="http://schemas.android.com/apk/res-auto"
- Replace
TextView with org.opencv.android.JavaCameraView widget: <org.opencv.android.JavaCameraView
android:layout_width="fill_parent"
android:layout_height="fill_parent"
android:visibility="gone"
android:id="@+id/tutorial1_activity_java_surface_view"
opencv:show_fps="true"
opencv:camera_id="any" />
- If you get a layout warning replace
fill_parent values by match_parent for android:layout_width and android:layout_height properties
You'll get a code like this:
<FrameLayout xmlns:android="http://schemas.android.com/apk/res/android"
xmlns:tools="http://schemas.android.com/tools"
xmlns:opencv="http://schemas.android.com/apk/res-auto"
android:layout_width="match_parent"
android:layout_height="match_parent" >
<org.opencv.android.JavaCameraView
android:layout_width="fill_parent"
android:layout_height="fill_parent"
android:visibility="gone"
android:id="@+id/tutorial1_activity_java_surface_view"
opencv:show_fps="true"
opencv:camera_id="any" />
</FrameLayout>
- Inherit the main class from
org.opencv.android.CameraActivity. CameraActivity implements camera perimission requiest and some other utilities needed for CV application. Methods we're interested in to override are onCreate, onDestroy, onPause, onResume and getCameraViewList
- Implement the interface
org.opencv.android.CameraBridgeViewBase.CvCameraViewListener2 onCameraFrame method should return the Mat object with content for render. The sample just returns camera frame for preview: return inputFrame.rgba();
- Allocate
org.opencv.android.CameraBridgeViewBase object:
- It should be created at app start (
onCreate method) and this class should be set as a listener
- At pause/resume (
onPause, onResume methods) it should be disabled/enabled
- Should be disabled at app finish (
onDestroy method)
- Should be returned in
getCameraViewList
Optionally you can forbid the phone to dim screen or lock:
getWindow().addFlags(WindowManager.LayoutParams.FLAG_KEEP_SCREEN_ON);
Finally you'll get source code similar to this:
package org.opencv.samples.tutorial1;
import org.opencv.android.CameraActivity;
import org.opencv.android.CameraBridgeViewBase.CvCameraViewFrame;
import org.opencv.android.OpenCVLoader;
import org.opencv.core.Mat;
import org.opencv.android.CameraBridgeViewBase;
import org.opencv.android.CameraBridgeViewBase.CvCameraViewListener2;
import android.os.Bundle;
import android.util.Log;
import android.view.SurfaceView;
import android.view.WindowManager;
import android.widget.Toast;
import java.util.Collections;
import java.util.List;
public class Tutorial1Activity extends CameraActivity implements CvCameraViewListener2 {
private static final String TAG = "OCVSample::Activity";
private CameraBridgeViewBase mOpenCvCameraView;
public Tutorial1Activity() {
Log.i(TAG, "Instantiated new " + this.getClass());
}
@Override
public void onCreate(Bundle savedInstanceState) {
Log.i(TAG, "called onCreate");
super.onCreate(savedInstanceState);
if (OpenCVLoader.initLocal()) {
Log.i(TAG, "OpenCV loaded successfully");
} else {
Log.e(TAG, "OpenCV initialization failed!");
(Toast.makeText(this, "OpenCV initialization failed!", Toast.LENGTH_LONG)).show();
return;
}
getWindow().addFlags(WindowManager.LayoutParams.FLAG_KEEP_SCREEN_ON);
setContentView(R.layout.tutorial1_surface_view);
mOpenCvCameraView = (CameraBridgeViewBase) findViewById(R.id.tutorial1_activity_java_surface_view);
mOpenCvCameraView.setVisibility(SurfaceView.VISIBLE);
mOpenCvCameraView.setCvCameraViewListener(this);
}
@Override
public void onPause()
{
super.onPause();
if (mOpenCvCameraView != null)
mOpenCvCameraView.disableView();
}
@Override
public void onResume()
{
super.onResume();
if (mOpenCvCameraView != null)
mOpenCvCameraView.enableView();
}
@Override
protected List<? extends CameraBridgeViewBase> getCameraViewList() {
return Collections.singletonList(mOpenCvCameraView);
}
@Override
public void onDestroy() {
super.onDestroy();
if (mOpenCvCameraView != null)
mOpenCvCameraView.disableView();
}
@Override
public void onCameraViewStarted(int width, int height) {
}
@Override
public void onCameraViewStopped() {
}
@Override
public Mat onCameraFrame(CvCameraViewFrame inputFrame) {
return inputFrame.rgba();
}
}
This is it! Now you can run the code on your device to check it.
Let's discuss some most important steps
Every Android application with UI must implement Activity and View. By the first steps we create blank activity and default view layout. The simplest OpenCV-centric application must perform OpenCV initialization, create a view to show preview from camera and implement CvCameraViewListener2 interface to get frames from camera and process them.
First of all we create our application view using XML layout. Our layout consists of the only one full screen component of class org.opencv.android.JavaCameraView. This OpenCV class is inherited from CameraBridgeViewBase that extends SurfaceView and under the hood uses standard Android camera API.
The CvCameraViewListener2 interface lets you add some processing steps after the frame is grabbed from the camera and before it's rendered on the screen. The most important method is onCameraFrame. This is a callback function and it's called on retrieving frame from camera. It expects that onCameraFrame function returns RGBA frame that will be drawn on the screen.
The callback passes a frame from camera to our class as an object of CvCameraViewFrame class. This object has rgba() and gray() methods that let a user get colored or one-channel grayscale frame as a Mat class object.
- Note
- Do not save or use
CvCameraViewFrame object out of onCameraFrame callback. This object does not have its own state and its behavior outside the callback is unpredictable!